Publish Your Project
Smowcode projects help to club multiple files into a single firmware application.
Let's learn how to publish your project in smowcode
Steps
-
Create a new project
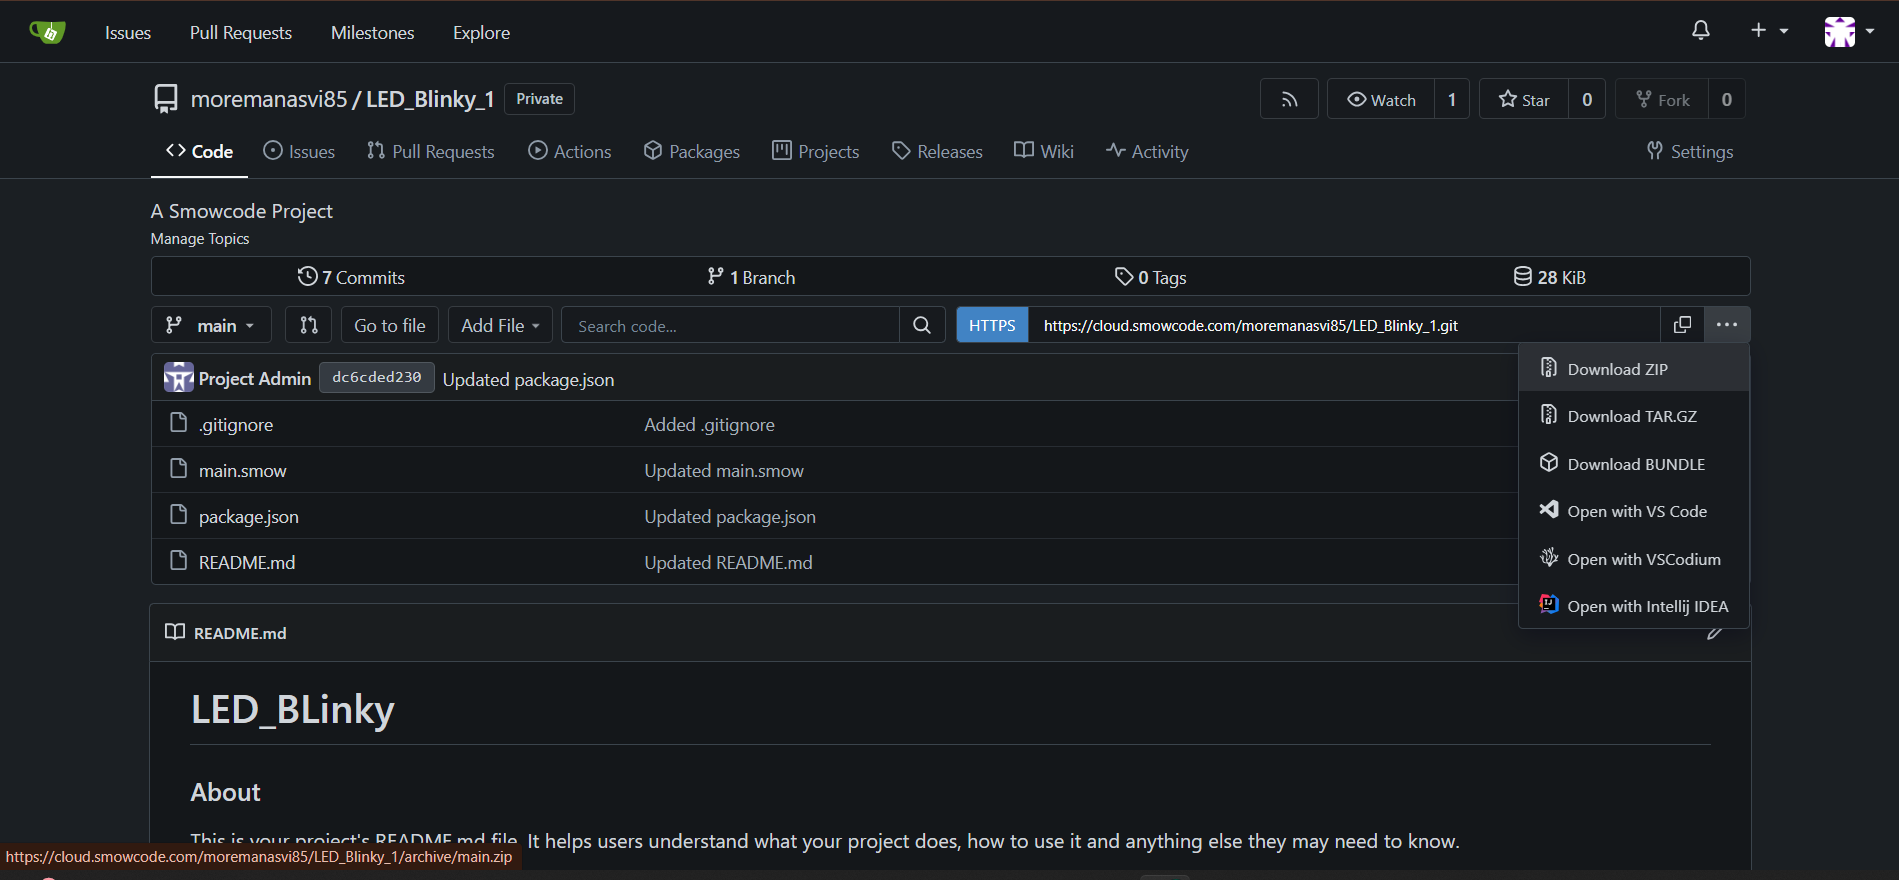
- Visit studio.smowcode.com, open the project you want to publish, navigate to the menu, select the repository option, and download the ZIP file of your project (Refer Version Control with Gitea)..
-
After logging in cloud.smowcode.com, click on the three dots and then select 'Download ZIP'.
-
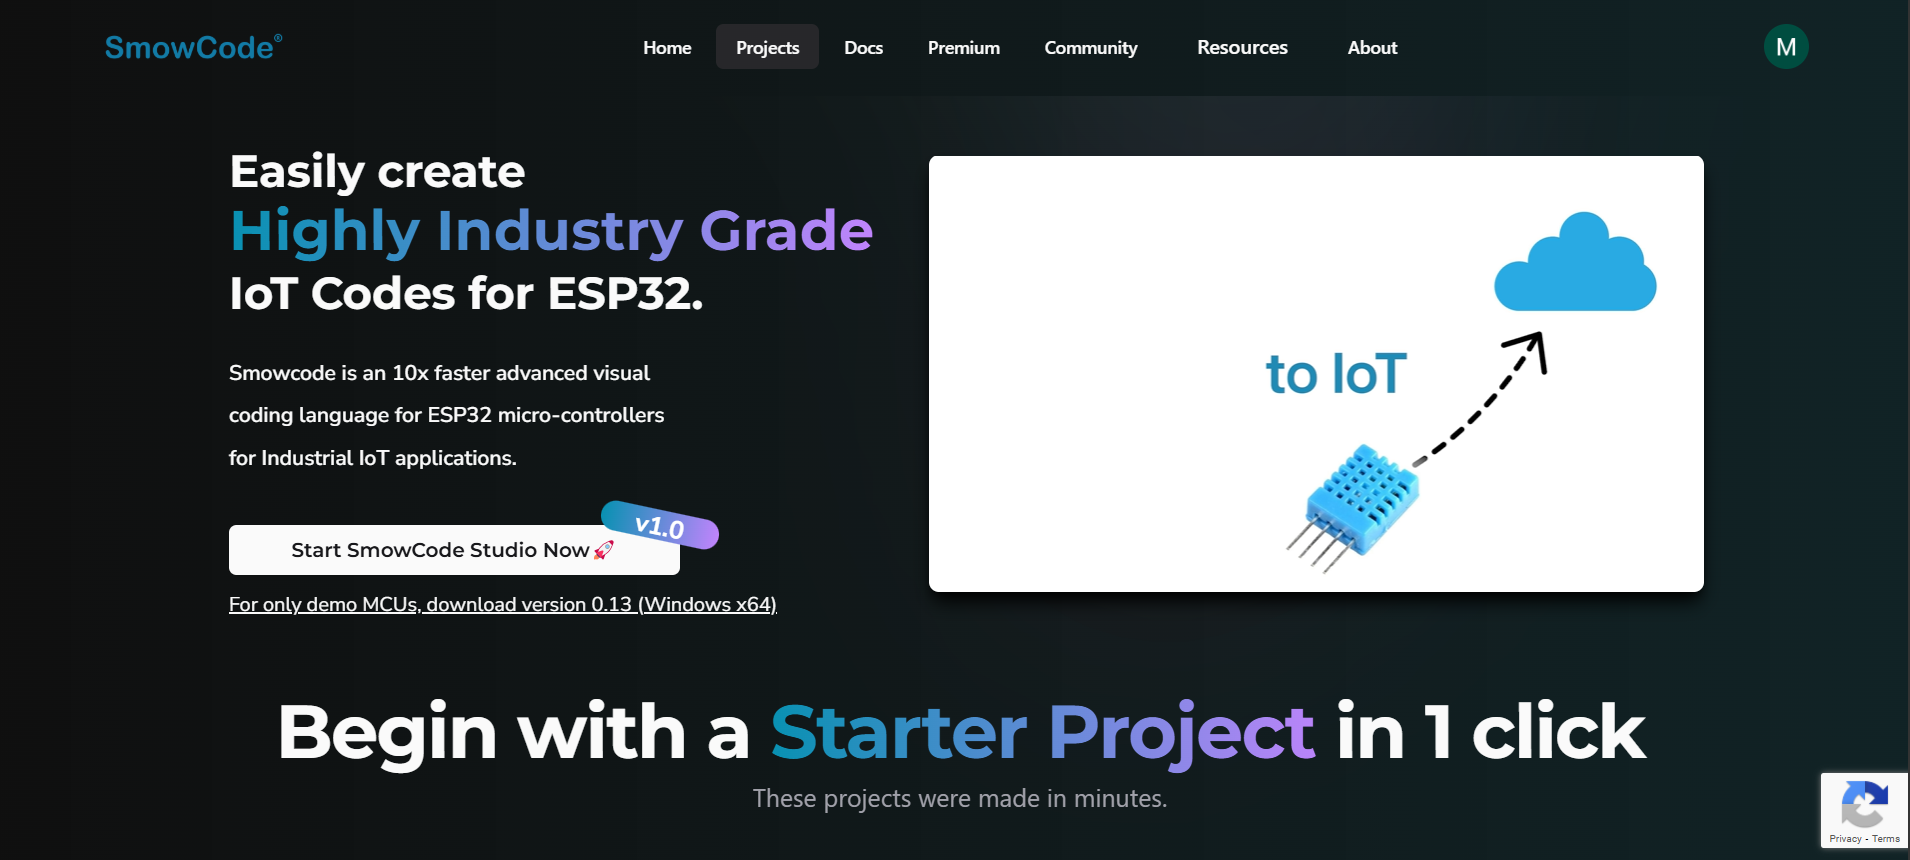
Visit smowcode.com website.
-
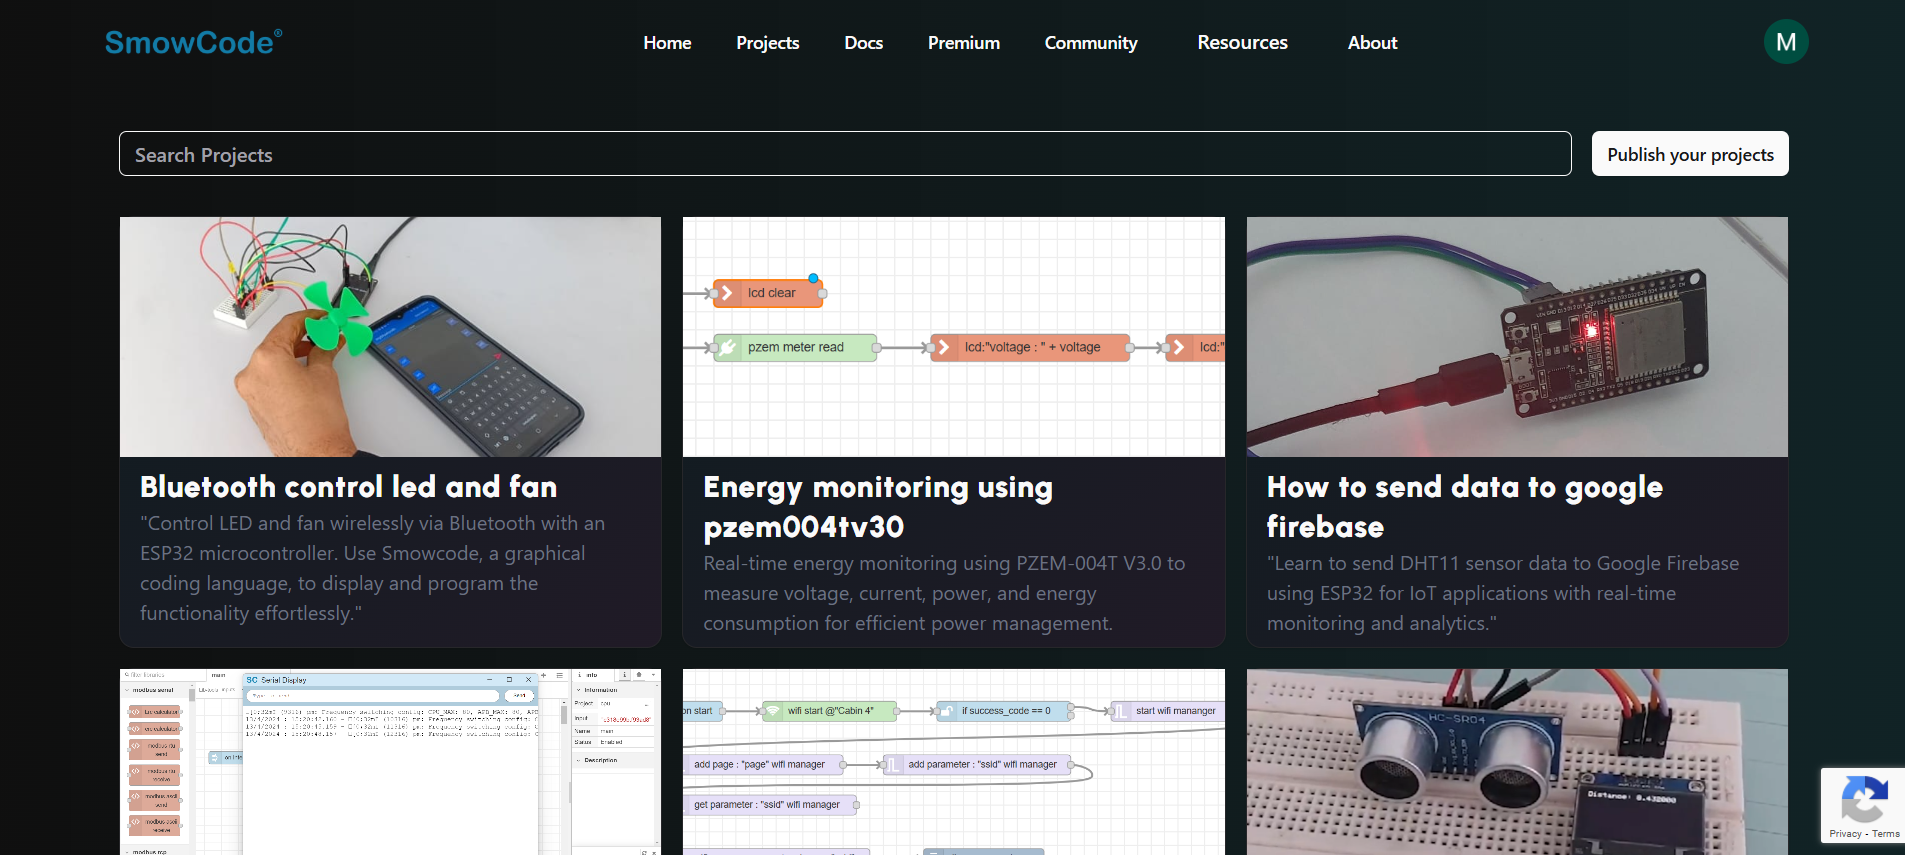
To publish a new project, click on Publish Your Projects button.
-
Add project name (e.g., led_blinky).

-
Add a short description about the project (e.g., In this project, we change the intensity of an LED at intervals of time by which we can see a twinkling effect).

-
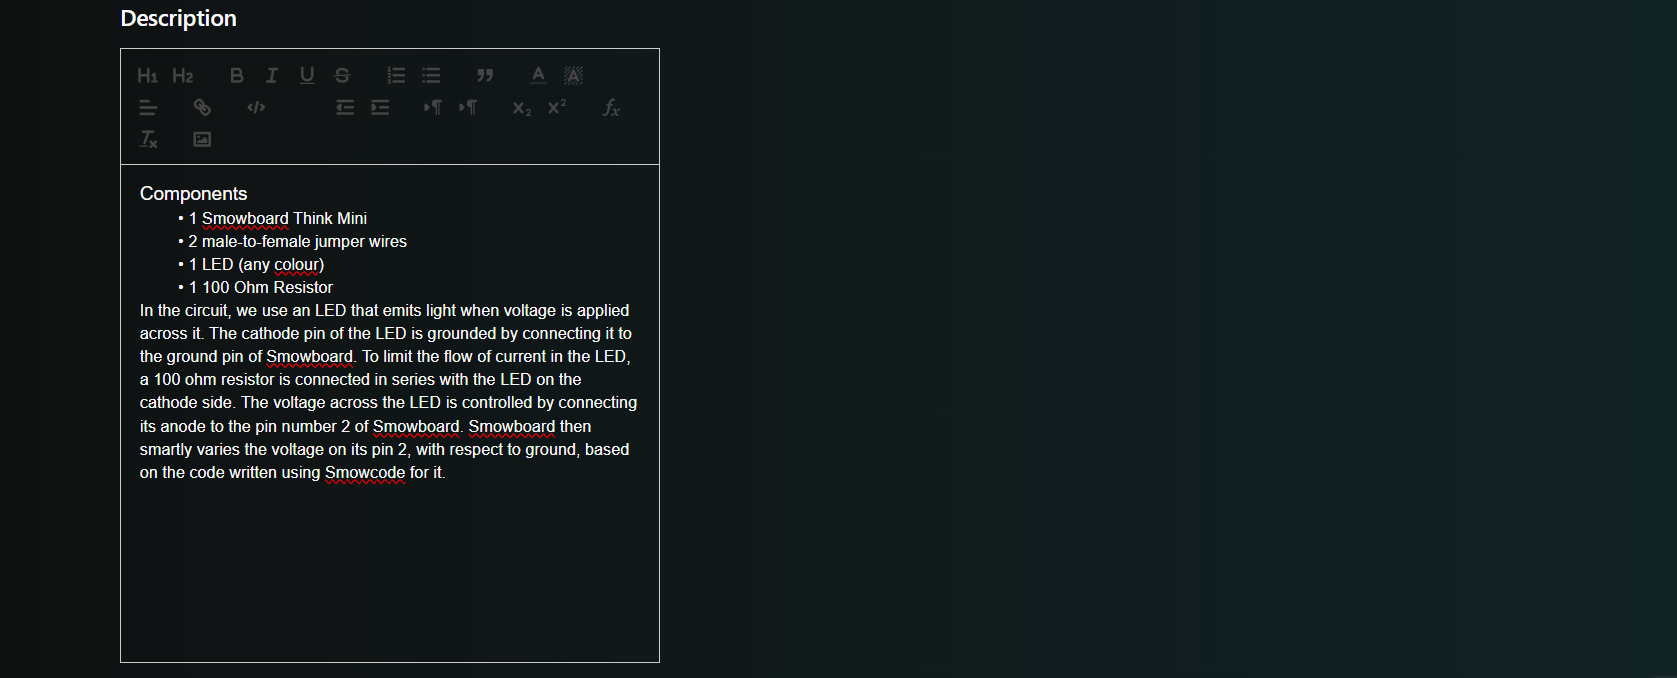
Add a description about the project, like how it works.
-
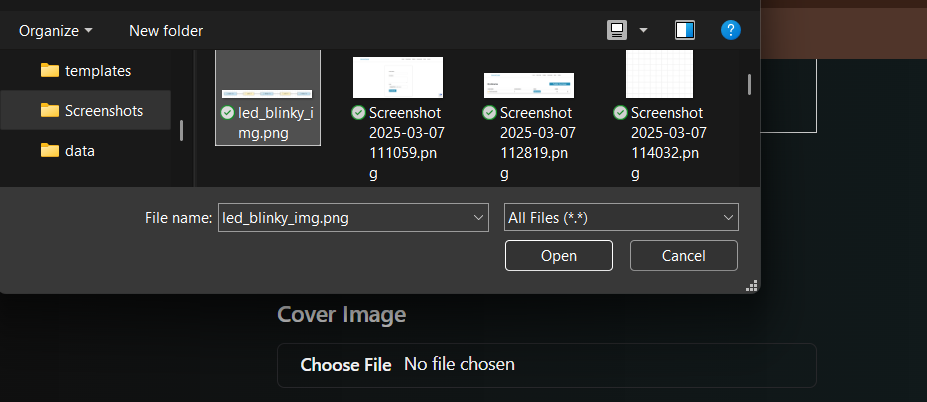
Scroll to Project Files section.
-
Click choose file and add an image of the project (e.g., add LED blink image).
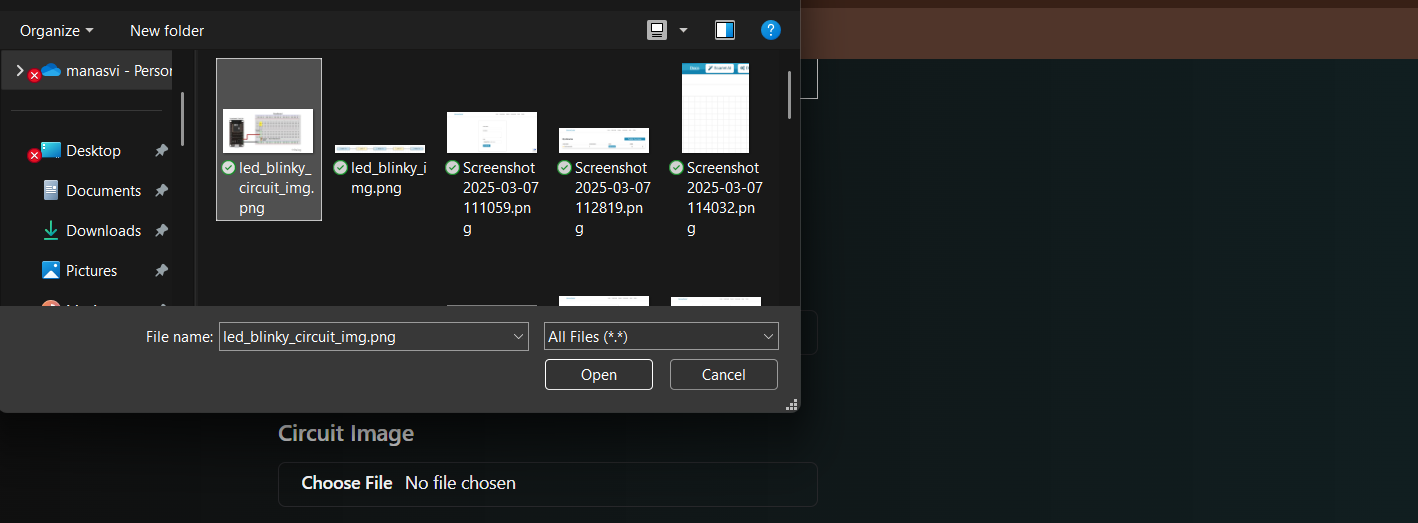
- Click choose file and add circuit image of the project.
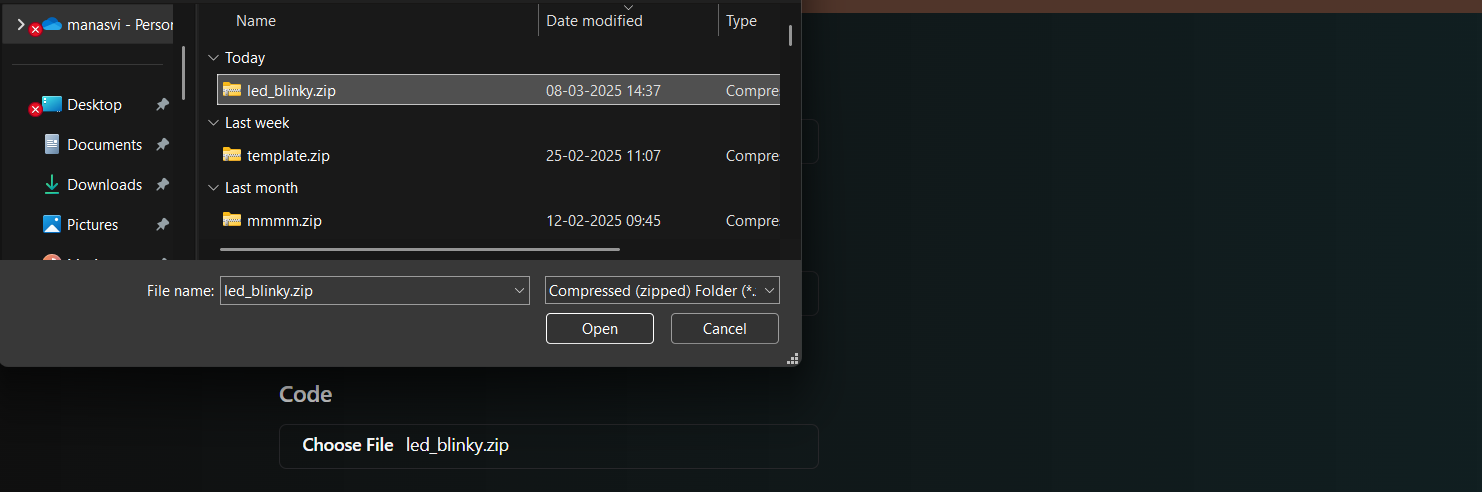
- Select the downloaded
.zipfile.
-
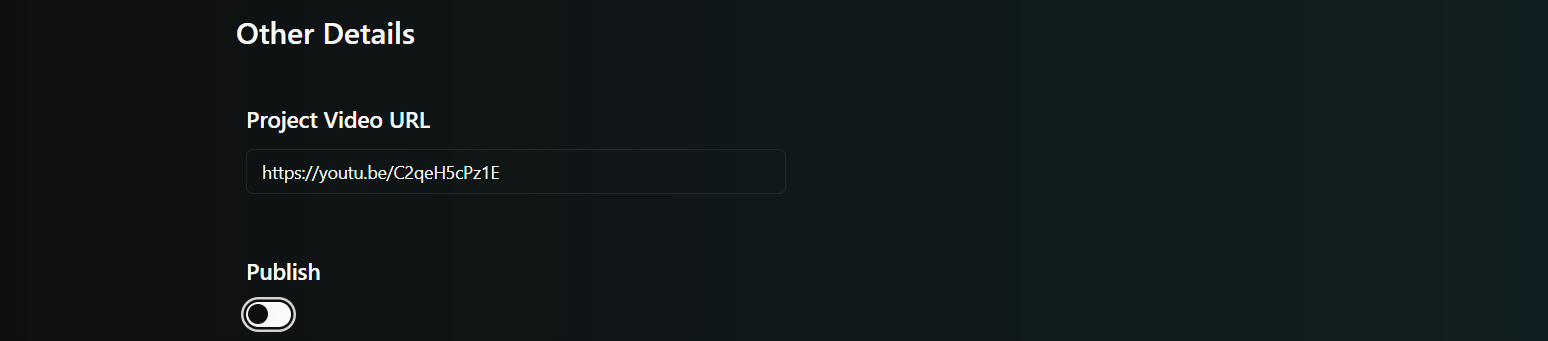
Scroll to Other Details.
-
Enter the URL of your project video.
-
To make the project visible to everyone, click Publish.
-
Finally click File upload. Congratulations on publishing your 1st project!
